This article guides you through the creation of your very own Nordstrom storefront so that you can start promoting our products to your audience.
Create a collection and add products to get started.
Select
![[Hearted]](https://paligoapp-cdn-eu1.s3.eu-west-1.amazonaws.com/impact/attachments/f01cdffa431a4d75ff09c130b66974d4-5f2ed9497b92cd6dee8946a736d78496.svg) [Heart] from the top navigation menu, then select Create new collection.
[Heart] from the top navigation menu, then select Create new collection.Edit one or all of the following sections:
The collection's name
The description
The cover image
Then select Save.
From the top navigation menu, select Discover.
Use the search bar to find products by keyword.
Alternatively, in the Popular or Top Categories sections, select a category or products that interests you.
Select View all to view all categories or products.
Use the search bar or filter by Category, Brand or Price to find products.
Select
[Heart] in the upper right corner of the product you want to add to a collection.
Use the search bar to find the collection you want to add the item to, then select
![[Checked box]](https://paligoapp-cdn-eu1.s3.eu-west-1.amazonaws.com/impact/attachments/f01cdffa431a4d75ff09c130b66974d4-aee23966cd91ec2a9f9985361c43ab1a.svg) [Checkbox] from the search results.
[Checkbox] from the search results.You can also create a new favorites collection at this point by entering the name of the collection you want to add into the search bar, then select Create.

Now that you know how to add products to a collection, browse around the different products for a bit to build out collections so you can add them to your storefront!
From the top navigation menu, select Storefront.
Optionally, select Add cover photo to upload a photo that exemplifies the type of content you'll be posting in your storefront.
Select Edit intro to introduce your audience to your storefront.
Storefront Avatar: Your dashboard profile picture is used by default, however you can change your avatar anytime by either selecting a picture from your social channels or uploading a picture that best represents you.
Description: Let your followers know who you are and what you’re passionate about.
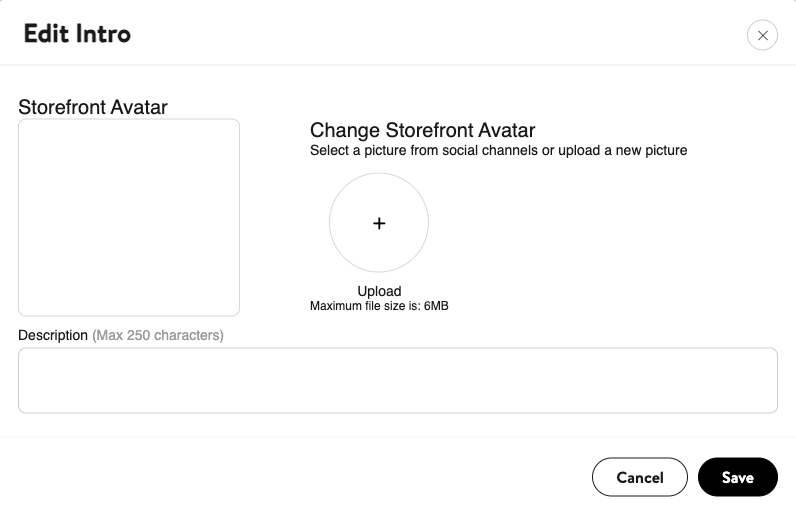
Once you're done adding your intro, select Save.
Now that your storefront is set up, you're ready to publish your page and post it to your social media platforms.
In the upper-right corner of your storefront page,
![[Toggle on]](https://paligoapp-cdn-eu1.s3.eu-west-1.amazonaws.com/impact/attachments/f01cdffa431a4d75ff09c130b66974d4-84d1224fd3bb6ba94b899febe2021eaa.svg) [Toggle on] Publish.
[Toggle on] Publish.Select Publish.
Select Copy Link to copy the link to your storefront and post it to your social media platforms.
Optionally, select
![[Linktree logo]](https://paligoapp-cdn-eu1.s3.eu-west-1.amazonaws.com/impact/attachments/f01cdffa431a4d75ff09c130b66974d4-387a60126519069d4fbecaa8ff6bde51.svg) Add This to My Linktree to add your storefront to your Linktree page. Then, log in to your Linktree account and [Toggle on] your storefront.
Add This to My Linktree to add your storefront to your Linktree page. Then, log in to your Linktree account and [Toggle on] your storefront.When you've successfully created and published your storefront, you'll want to add product collections to your storefront and share them with your audience.

You can add any of your curated collections to your storefront so your audience can find your recommended products.
From the top navigation menu, select Storefront.
Scroll down to the My Collections section and select Add collection.
From the collections you've created, select the collection(s) you'd like to add to your storefront, then select Add to my page.
Before adding a collection to your storefront you must first create a collection of your favorite items.
Your collection will be added to your storefront for your audience to view and shop.
Navigate to the My Collections section of your storefront.
Select View collection of the collection to which you want to set the display timeframe.
Select Edit collection.
Choose the timeframe for which you want your collection to be displayed.
You can also edit your collection here.
Select Save.
Select Remove from my page to delete the collection.

Now that your storefront is created you can start sharing shoppable posts with your followers! You can add any content from your social channels to your storefront and include links to your favorite items.
From the top navigation menu, select Storefront.
Scroll down to the My Posts section and select Add Post.
From the
![[Drop-down menu]](https://paligoapp-cdn-eu1.s3.eu-west-1.amazonaws.com/impact/attachments/f01cdffa431a4d75ff09c130b66974d4-d6b35853a9aa1f1fe6bd66da29bd09fa.svg) [Drop-down menus], select Select Network to choose the social network that contains the content you'd like to highlight, select Select Account to choose the account you want to use and choose the specific post you want to make a shoppable post with.
[Drop-down menus], select Select Network to choose the social network that contains the content you'd like to highlight, select Select Account to choose the account you want to use and choose the specific post you want to make a shoppable post with.If you select Instagram as your social network, you can select Instagram Posts or Instagram Stories.
To build a shoppable post it must be published on your social media site.

Select Next.
Select the item(s) you want to promote in the post based on your favorite items and then select Next.
Select Add Post to share your shoppable post to your storefront.

Congratulations! Your audience can now easily click through your storefront and make purchases based on your recommendations. Keep the momentum going by regularly updating your storefront with new products and shoppable posts.